
Here are the step by step directions on getting your Day/Night RV shade repaired/restrung

Small Phillips-head screwdriver
Needle-nose pliers
Tape measure
Sewing needle
Scissors
1.Remove the shade from the window and place it on a flat surface. Using a knife or a flat-head screwdriver, gently pry all the end caps off the shade's rails, noting where each cap should be returned (they may not all be of equal thickness).
2.Slide the rails off of the shade in a horizontal motion. If a rail does not slide off easily, you may need to use a pair of needle-nose pliers to hold one end of the inner rail while firmly sliding the rail.
3.Remove the cords that you are restringing. From the top rail, the cord is attached to a spring on each side of the shade. Check the way the cord is routed to make sure you duplicate the pattern with the new cord.
4.Separate the top from the bottom half of the shade at the center rail and slide them in opposite directions. Set the rails aside and lay your shade flat, with the bottom facing you and the inside facing up.
5.Check the areas in which the cords pass through the inner rails. All grommets should be smooth and intact. If a grommet is missing or loose, replace it to avoid your new cord wearing through too quickly.
6.Compress the shade's halves and secure them with rubber bands. Starting at the bottom and working your way up to the spring at the top rail, use a sewing needle to feed the cord through the appropriate holes. Once you reach the top, secure the cord with a knot. Repeat as necessary.
7.Center the spring. The length of the cord coming out of the end cap on the bottom should be the same as the height of the shade plus 6 inches.
8.Remove the rubber bands from the top and bottom halves. Place the halves back to the shade's center rail and replace the end caps. Remove the cord's slack and put the bottom rail back onto the shade, ensuring that the cords are coming out of the right ends. Thread the cord through the end caps and place the end caps back on the rail.
9.Center the top rail's spring and remove any of the cord's slack. Place the top rail back onto the shade and put the end caps on. Put new cord retainers on the cords that come out of the bottom. Test the shade and reinstall it.
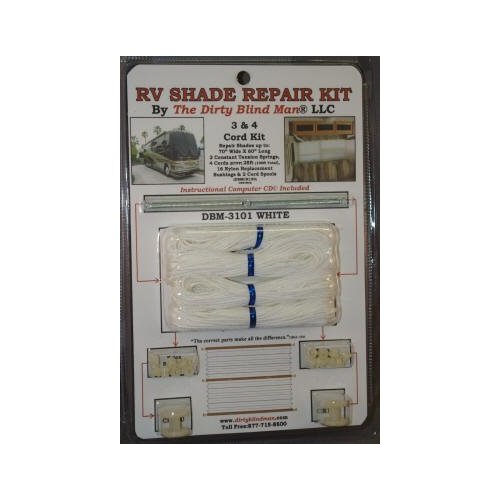
I really hope this helps you get your shades back in order. It takes patience and the ability to remember how your strings are strung so that you can replace them the same way. If your strings are completely gone you can order a repair kit. I have added a link to the blind kit I find the easiest to use. It is located on the right of my blog!
Thanks for Reading the Blog and signing on as a follower!
Chris
Information in part by ehow.com
No comments:
Post a Comment